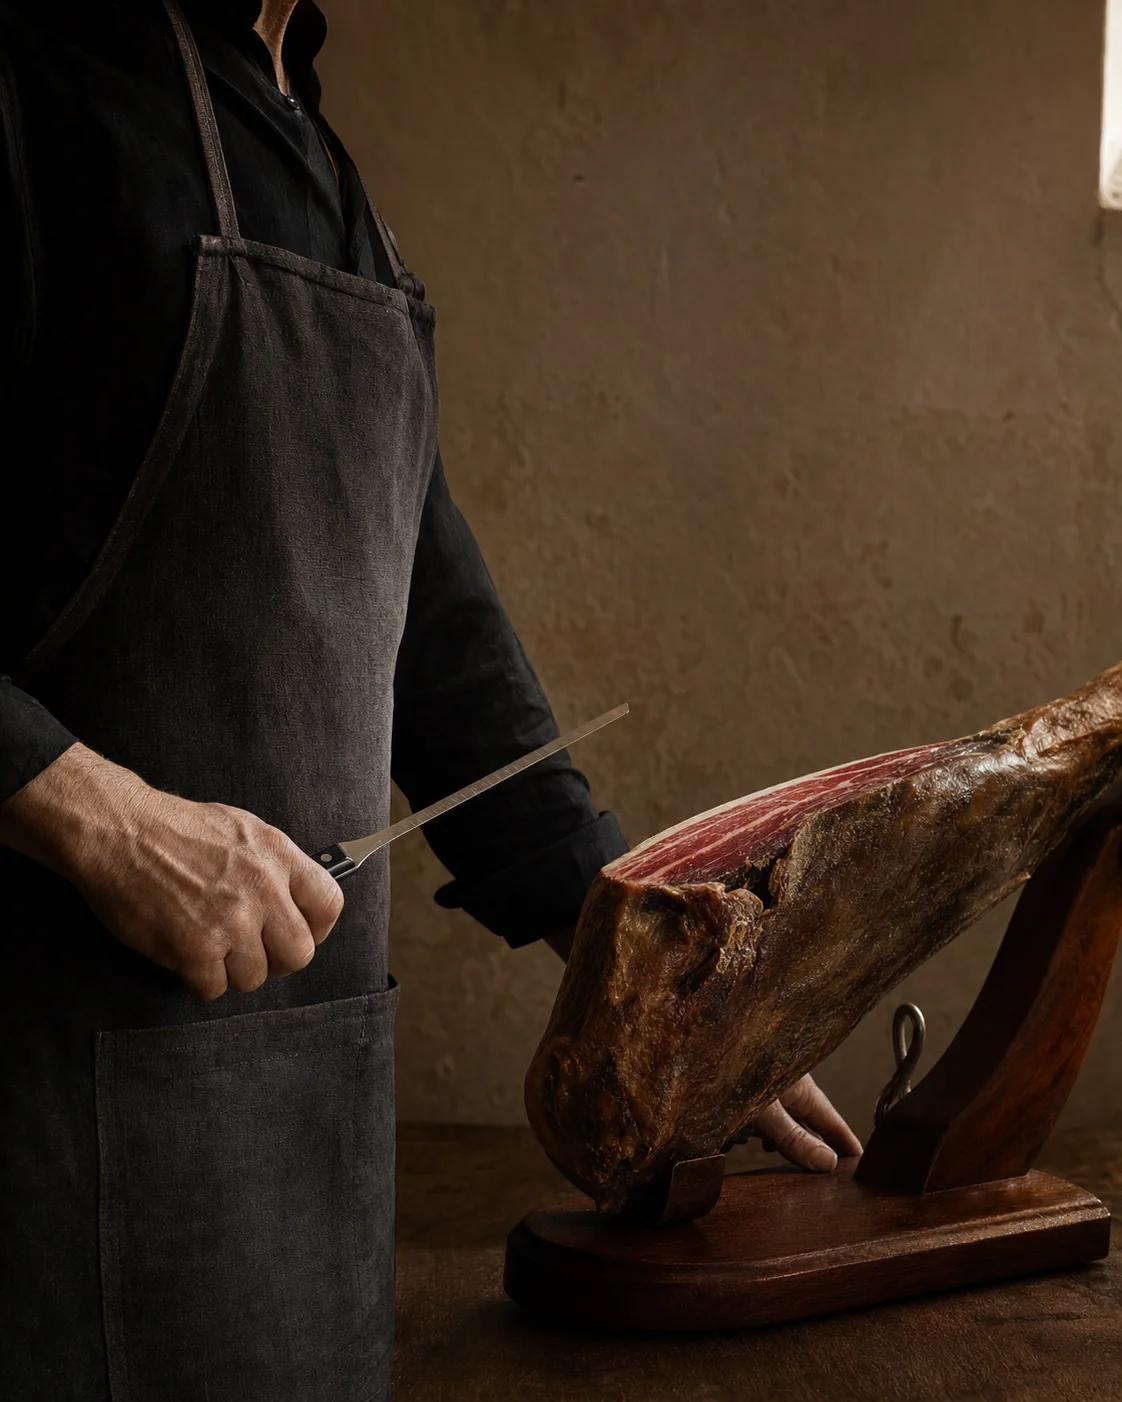
Secure the leg, trim only the area you will use and cut small slices with gentle strokes, keeping an even surface. Keep your free hand outside the blade’s path. Do not force the slicing knife against bone.
Before starting: stability and tools
Prepare a ham stand, slicing knife, rigid trimming knife and short boning knife. The slicing knife should cut without requiring force. Understand the purpose of each tool before using it.
1. Secure the leg and choose a starting side
Check that the ham does not rock. The maza is the broad side, generally reached with the hoof facing upwards. The babilla is on the opposite side. The Consorcio’s illustrated sequence starts with the maza [1].
For slow consumption, starting with the babilla can be a practical way to use the less meaty area first. This is a home-serving suggestion, not a universal rule: adapt the order to the leg and your pace.
2. Open a small working area
Use the rigid knife to remove rind and yellowish outer fat from the immediate carving area. Keep edible white fat alongside the lean meat. Do not strip the entire leg at once.
Use short, controlled movements. Keep the flexible knife for slicing rather than cutting through rind or levering.
3. Aim for a thin slice, not a huge one
Place the blade almost parallel to the surface and glide it gently. Cut small bite-sized slices, stopping before the stroke becomes hard to control. Keep your entire free hand outside the blade’s path.
A useful reference slice is flexible and pleasant to chew. There is no exact size to achieve: if it is thick or torn, check the edge, angle and condition of that area before pressing harder.
4. Keep the carving surface even
Work across the accessible surface instead of digging deeper into one spot. This avoids a channel with high edges that get in the way of the blade.
Correct uneven areas gradually with small cuts. Do not try to remove a large strip at once.
5. Change tools near the bone
Use the short knife in small sections to free meat near the bone. Return to the slicing knife where access is comfortable. When the area becomes awkward, release the fixings, turn the leg and secure it again before continuing.
Trimmings can be chopped for recipes. Ask a butcher to cut bones: the ham slicing knife is not a saw.
6. Finish serving and avoid common mistakes
Arrange slices in a single layer without pressing them together. Carve what you need, then protect and store the ham according to the producer’s instructions.
Common mistakes are a moving stand, a hand in the blade’s path, a channelled surface and a knife that needs excessive force. Stop and correct the problem before continuing.
Common questions
Which side should I start with?
The maza is one starting option and the side used in the Consorcio sequence. For slow consumption, the babilla can be practical; adapt the order to your leg.
Why do the slices tear?
The edge, angle, thickness or a dry area may be responsible. Check these before applying more pressure.
Sources and scope
JAMÓN.IM educational overview. Serving and cooking suggestions are editorial starting points. Follow your product label and tool manufacturer’s instructions.